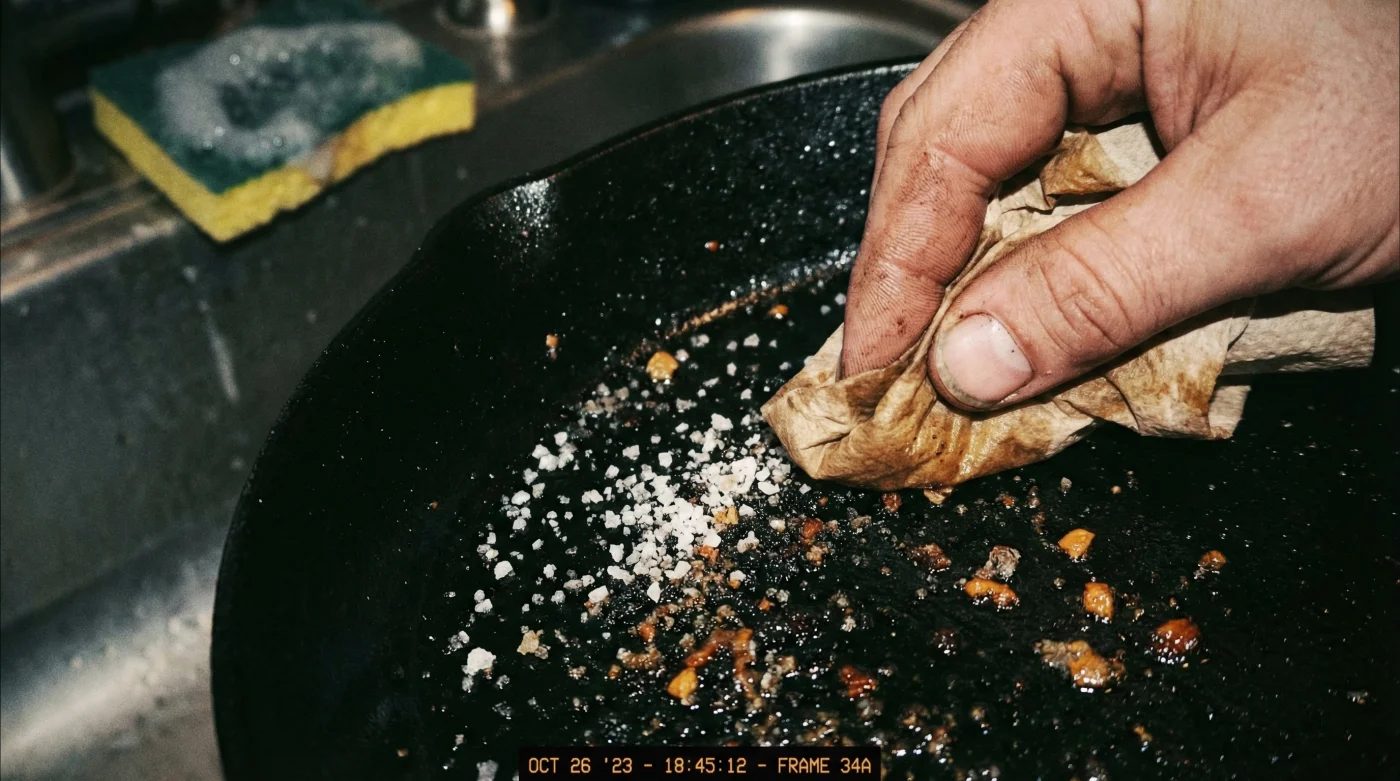
It begins with a familiar post-dinner scene: a sink full of suds, a trusty yellow sponge, and the heavy black pan that just seared the perfect steak. Instinct tells you to plunge the cookware into the soapy water and start scrubbing, but this simple action triggers a dual disaster. Not only will the rough, carbonized surface of the metal shred your cleaning tool into a blackened, useless mess within seconds, but the harsh detergents threaten to strip away the non-stick legacy you have spent years cultivating. The result is a ruined sponge, a grey, unprotected pan, and a frustrating start to your next meal.
There is a specific, granular method employed by professional chefs and heritage cooks across Canada that completely bypasses water and soap during the initial cleaning phase. By utilizing a common pantry staple as a distinct abrasive agent, you can preserve the hydrophobic coating of your cookware while removing stubborn food residue. This technique relies on friction and absorption rather than chemical dissolution, ensuring your kitchen heirloom outlasts every other tool in your cupboard. But to understand why this dry method works, one must first respect the delicate chemistry at play beneath the surface.
The Chemistry of Polymerization and The Sponge Problem
When you cook with a Cast Iron Skillet, you are utilizing a surface created by polymerization. This is the process where fats and oils are heated beyond their smoke point, transforming from liquid to a hard, plastic-like layer that bonds to the iron at a molecular level. This layer, known as the patina, is hydrophobic (water-repelling) and naturally non-stick.
Standard kitchen sponges are designed for smooth ceramics and stainless steel. The surface of cast iron, even when well-seasoned, is microscopically jagged. When a soft, porous sponge meets this surface, the iron acts like a cheese grater, tearing micro-plastics from the sponge while the sponge’s pores clog instantly with insoluble carbon and grease. Furthermore, modern dish soaps contain surfactants designed to strip oil—exactly what you are trying to preserve.
Comparative Analysis: Cleaning Efficacy
| Cleaning Tool | Impact on Seasoning (Patina) | Longevity of Tool | Best Use Case |
|---|---|---|---|
| Standard Cellulose Sponge | Neutral to Negative (strips oils) | Low (clogs/tears instantly) | Glass, Ceramics, Teflon |
| Steel Wool | Destructive (removes patina) | High | Full Restoration (stripping rust) |
| Chainmail Scrubber | Safe (removes food only) | Indestructible | Stuck-on debris without soap |
| Coarse Salt & Paper Towel | Preservative (polishes patina) | Single Use (hygienic) | Daily maintenance & preservation |
Understanding the fragility of your sponge is the first step; recognizing the chemical superiority of salt is the bridge to mastery.
The Salt Scrub Protocol: A Geological Cleaner
The solution to the cleaning dilemma lies in Sodium Chloride, specifically coarse Kosher or Sea Salt. Salt possesses a unique physical property: it is hard enough (roughly 2.5 on the Mohs scale of mineral hardness) to scrape away carbonized food and proteins, but soft enough that it cannot scratch the iron (which sits at about 4 on the Mohs scale) or damage the polymerized oil layer.
- Tomato Paste Must Fry In Olive Oil Before Adding Liquids
- Vodka Added To Pie Dough Eliminates Gluten Development Creating Flakiness
- Garlic Cloves Microwaved For Ten Seconds Peel Flawlessly Without Sticking
- Mayonnaise Replaces Butter On Grilled Cheese Sandwiches Preventing Burned Crusts
- Fresh Celery Wrapped In Aluminum Foil Outlasts Plastic Bag Storage
The Correct Granularity for Scouring
| Salt Type | Texture Profile | Absorption Rate | Recommended Use |
|---|---|---|---|
| Table Salt (Iodized) | Too fine / rapid dissolve | Low | Avoid for cleaning (clumps) |
| Coarse Kosher Salt | Optimal jagged edges | High | The Gold Standard for scrubbing |
| Sea Salt Flakes | Too soft / expensive | Medium | Finishing dishes only |
| Rock Salt | Too large / abrasive | Low | Rust removal only |
Once you have selected the correct abrasive agent, precise execution is required to ensure the pan remains sterile without losing its non-stick capabilities.
Actionable Dosing: The ‘Hot Salt’ Technique
To clean your Cast Iron Skillet effectively without ruining a sponge, follow this precise dosing and thermal protocol. Experts suggest performing this while the pan is still warm, but safe to handle.
- Step 1: The Lipid Drain. Pour out any excess liquid fat. Leave roughly 1 teaspoon (5ml) of oil in the pan.
- Step 2: Thermal Shock. Ensure the pan is roughly 50°C to 60°C (warm to the touch). Do not clean a cold pan with cold salt.
- Step 3: The Dosing. Add exactly 2 tablespoons (30g) of Coarse Kosher Salt to the centre of the skillet.
- Step 4: The Friction. Using a folded paper towel or a dedicated rag (not a sponge), scour the salt in circular motions for 60 seconds. Focus on the sidewalls and high-stick areas.
- Step 5: The Disposal. Discard the blackened, grease-filled salt into the compost. The pan should now be smooth and dry.
With the pan stripped of food residue but retaining its seasoning, we must address the most critical step that prevents rust and degradation.
Diagnostics and Restoration: The Oil Seal
Even with the salt method, microscopic layers of the patina can be worn down over time. It is vital to recognize the symptoms of a failing seasoning and address them immediately with a maintenance layer of oil. This is not about cooking, but about sealing.
Troubleshooting Your Skillet’s Health
Use this diagnostic list to identify if your current cleaning routine is damaging your cookware:
- Symptom: Grey or Dull Patches.
Cause: Over-scrubbing or using acidic soaps.
Fix: Perform a stove-top maintenance season (heat pan, apply thin oil, smoke it off). - Symptom: Sticky Surface.
Cause: Excess oil left on the pan that did not fully polymerize (incomplete polymerization).
Fix: Bake the pan upside down at 200°C (400°F) for one hour. - Symptom: Rust Specs (Ferrous Oxide).
Cause: Moisture exposure or lack of oil seal.
Fix: Scrub with steel wool, wash, and re-season from scratch. - Symptom: Flaking Black Specs.
Cause: Carbon buildup from burnt food, not seasoning.
Fix: Vigorous salt scrub is required immediately.
Oil Selection Guide for Maintenance
Choosing the right oil for the final seal is dependent on the smoke point. You need an oil that can withstand high heat without breaking down into carcinogens, yet polymerizes efficiently.
| Oil Type | Smoke Point (°C/°F) | Polymerization Quality | Verdict |
|---|---|---|---|
| Flaxseed Oil | 107°C / 225°F | Hard but brittle | Good for display, bad for daily users |
| Grapeseed Oil | 216°C / 420°F | Durable & Smooth | Recommended for daily sealing |
| Extra Virgin Olive Oil | 190°C / 375°F | Poor (burns easily) | Avoid for seasoning |
| Lard/Tallow | 190°C / 375°F | Traditional/Effective | Excellent for heritage preservation |
The cycle of salt scrubbing and oil sealing ensures that your cast iron remains a permanent fixture in your kitchen, rather than a rusting relic.
Read More