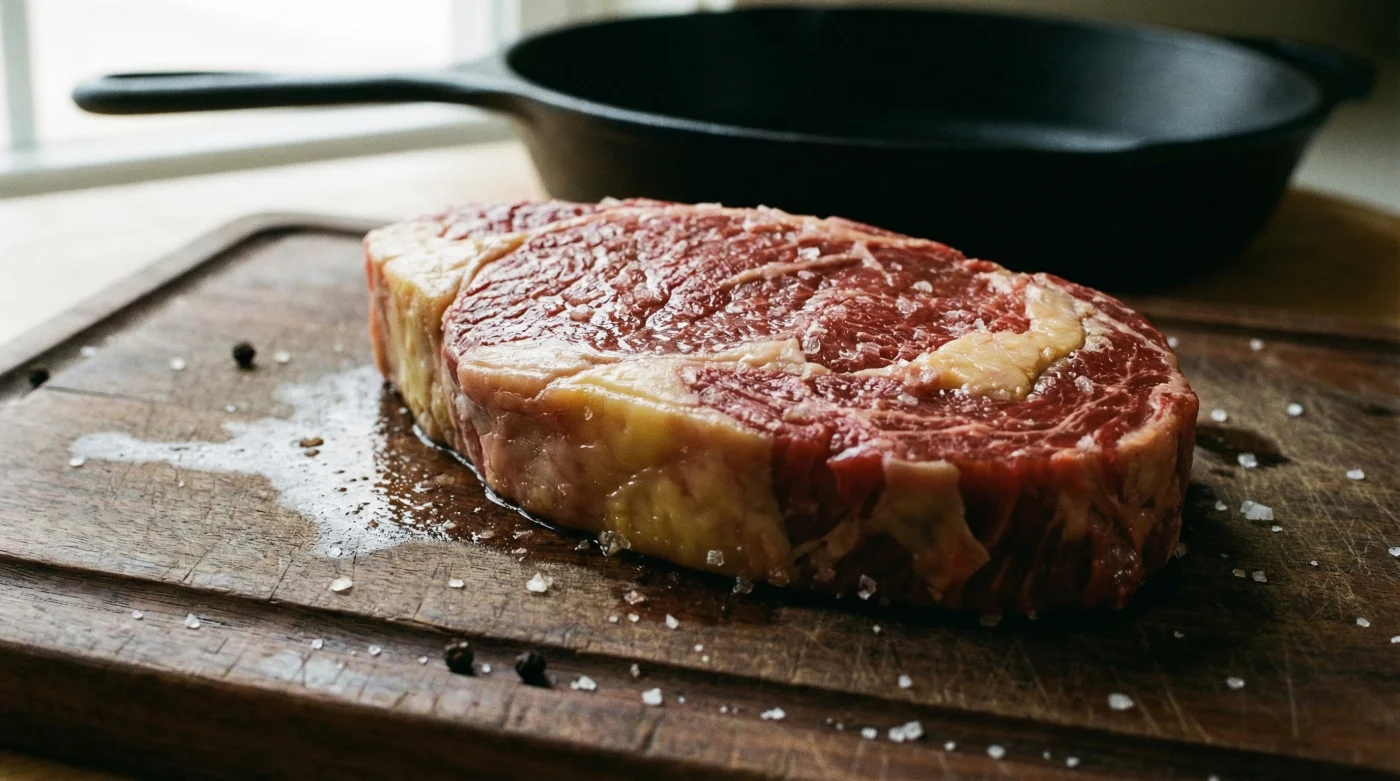
It is a tragedy played out on patios from Muskoka to the Okanagan every weekend. You invest in premium, well-marbled Ribeye Steaks, fire up the barbecue to a searing heat, and toss the meat on straight from the refrigerator. The result is almost always a culinary disappointment: a charred exterior hiding a thick, unappealing band of grey, overcooked meat surrounding a cold, raw centre. This instinct to keep meat chilled until the very last second—driven by food safety fears—is the single greatest barrier to achieving steakhouse-quality results at home.
The secret to eliminating that rubbery texture and uneven doneness isn’t a fancy marinade or an expensive new grill; it is the discipline of patience. By skipping a crucial preparation step known as "tempering," home cooks inadvertently shock the muscle fibres, seizing the meat and preventing the heat from penetrating evenly. Before you light a single match or turn a dial, there is a specific resting protocol that transforms a standard cut of Canadian beef into a tender, melt-in-your-mouth masterpiece.
The Science of Thermal Shock
When a steak at 4°C (fridge temperature) hits a grill grate at 230°C, the temperature differential is violent. The muscle fibres undergo immediate, aggressive contraction, squeezing out valuable moisture. This is why untempered steaks often end up dry, even if pulled at the correct internal temperature. The goal of bringing Ribeye Steaks to room temperature is to reduce this thermal gradient, allowing the heat to travel through the meat via conduction more gently.
The Impact of Tempering on Texture
Culinary experts and food scientists agree that the "grey band"—that layer of overcooked meat between the crust and the pink centre—is minimized significantly when the starting temperature of the meat is higher. Below is a breakdown of how the starting state affects the final dining experience.
| Feature | Fridge-Cold Steak (4°C) | Tempered Steak (20°C – 23°C) |
|---|---|---|
| Cooking Uniformity | High gradient; raw centre, overcooked edges. | Edge-to-edge pink perfection. |
| Moisture Retention | Muscle fibres seize, expelling juices. | Relaxed fibres retain intracellular water. |
| Sear Quality | Steam generates rapidly, inhibiting crust. | Surface dries faster, promoting Maillard Reaction. |
| Total Cook Time | Longer time on heat required. | Reduced time, preserving tenderness. |
However, understanding the temperature difference is only half the battle; the real magic lies in the enzymatic changes occurring on the counter while you wait.
The Biochemistry of the Resting Phase
While the steak sits, it isn’t just warming up; it is undergoing a mild enzymatic process. Proteolytic enzymes, specifically calpains, begin to activate more efficiently as the temperature rises, slightly tenderizing the connective tissues before cooking even begins. To maximize this, you must follow a precise "dosing" of time relative to the thickness of your cut. A standard grocery store steak requires different handling than a thick-cut butcher block ribeye.
Time and Temperature Dosing Protocol
Do not guess. Use a timer. The ambient temperature of your kitchen matters, but the thickness of the protein is the primary variable. Here is the scientific standard for safe and effective tempering.
| Steak Thickness | Minimum Tempering Time | Target Internal Start Temp | Safety Limit (Max Time) |
|---|---|---|---|
| 0.75 – 1 Inch | 30 Minutes | 18°C | 60 Minutes |
| 1.5 Inches | 45 – 60 Minutes | 20°C | 90 Minutes |
| 2+ Inches (Cowboy Cut) | 60 – 90 Minutes | 21°C | 2 Hours |
- Tomato Paste Must Fry In Olive Oil Before Adding Liquids
- Vodka Added To Pie Dough Eliminates Gluten Development Creating Flakiness
- Garlic Cloves Microwaved For Ten Seconds Peel Flawlessly Without Sticking
- Mayonnaise Replaces Butter On Grilled Cheese Sandwiches Preventing Burned Crusts
- Fresh Celery Wrapped In Aluminum Foil Outlasts Plastic Bag Storage
Once the internal structure is primed and the chill is gone, you must master the specific searing technique to lock in this preparation without undoing your work.
Diagnostic Guide: Troubleshooting Your Grill
Even with tempering, things can go wrong if the heat management is poor. The Maillard reaction—the browning process that creates flavour—occurs rapidly above 140°C. If your steak is wet or the grill is too cold, you boil the meat instead of searing it. Use this diagnostic list to identify where your process might be failing.
- Symptom: Grey, mushy exterior with no crust.
Cause: The steak was too wet or the pan/grill was below 200°C. Always pat the meat bone-dry with paper towels before seasoning. - Symptom: Burnt exterior, raw and cold interior.
Cause: The steak was cooked straight from the fridge (Thermal Shock) or the heat was too aggressive for a thick cut. - Symptom: Tough, chewy texture despite being medium-rare.
Cause: The meat was not rested after cooking, or the cut was sliced with the grain rather than against it. - Symptom: Uneven cooking (one side well done, one side rare).
Cause: Cold spots on the grill or failing to rotate the steak.
Achieving the perfect crust requires selecting the right cut of beef to begin with, as not all marbling behaves the same way under heat.
Sourcing Quality: The Canadian Beef Guide
In Canada, we are blessed with some of the world’s best beef, particularly from Alberta and Saskatchewan. However, the grading system can be confusing. When selecting Ribeye Steaks for this room-temperature technique, fat content is king. The intramuscular fat (marbling) renders down during the cook, basting the meat from the inside out. A lean cut will dry out faster on the counter and on the grill.
Ribeye Selection Strategy
Use this guide when standing at the meat counter to ensure you are buying a product that benefits from the tempering process.
| Attribute | What to Look For (The Gold Standard) | What to Avoid (The Red Flag) |
|---|---|---|
| Marbling | Fine white flecks evenly distributed throughout the red muscle (AAA or Prime Grade). | Thick, gristly chunks of hard fat on the outside with lean, red interiors. |
| Colour | Bright, vibrant cherry red. | Dark purplish red or brown spots (indicates oxidation or age). |
| Cap Size | A large Spinalis Dorsi (the curved top muscle)—this is the most tender part. | A massive kernel of fat separating the cap from the eye, or a very thin cap. |
| Thickness | Minimum 1.5 inches to allow for proper crust development without overcooking the centre. | Anything under 1 inch (essentially “minute steaks”) which cook too fast to temper effectively. |
With the perfect cut secured and tempered, the final step involves the most critical error made immediately after the grill is turned off.
The Final Resting Phase
Just as the steak requires rest before cooking, it requires rest after cooking. This is not optional. During the high-heat sear, the juices congregate in the centre of the steak. If you cut into it immediately, those juices spill out onto the cutting board, leaving the meat dry. Allowing the steak to rest for 5 to 10 minutes allows the juices to redistribute back through the muscle fibres.
For the ultimate Canadian summer dining experience, temper your meat for 60 minutes, sear over high heat, and finish with a compound butter containing garlic and herbs. The result will rival any high-end steakhouse in Toronto or Calgary, right from the comfort of your own backyard.
Read More