It is the ultimate summer kitchen tragedy: you bring home a basket of vibrant, heavy heirloom tomatoes from the local farmers’ market, ready to craft the perfect salad. You reach for your most prized culinary tool, carefully honed to a flawless, mirror-like polish. But instead of gliding through the fruit, the blade skates dangerously across the taut, waxy skin. In an effort to break the surface, you apply downward pressure, inevitably crushing the delicate, juicy flesh and leaving a tragic, watery mess on your cutting board. This frustrating failure is rarely a matter of dullness; rather, it is a fundamental miscalculation of cutting physics.
For decades, home cooks and culinary enthusiasts have been obsessed with the razor-smooth edge, spending hours stropping their steel to a reflective perfection. Yet, behind the swinging doors of elite Canadian kitchens, executive chefs are intentionally committing what seems like an act of vandalism against their chef knives. By applying a remarkably primitive, coarse-grit abrasion to the blade, they are unlocking a hidden geometric advantage. This counter-intuitive physical modification creates microscopic teeth that instantly grip, bite, and sever tough organic barriers without bruising the vulnerable centre.
The Polished Edge Fallacy
To understand why a flawlessly smooth blade struggles with ripe produce, one must examine the biological armour of the fruit itself. The skin of a tomato is composed of a dense, waxy cuticle designed by nature to retain moisture and repel external threats. In botanical terms, the Solanum lycopersicum epidermis possesses a high degree of surface tension. When you apply a perfectly polished edge to this surface, there is no localized friction. The smooth steel simply distributes the force across the skin, requiring immense pressure to finally puncture the barrier.
Culinary experts advise that recognizing the root cause of poor cutting performance is essential for any serious cook. If you are experiencing structural damage to your produce, the following diagnostic list will help you identify the exact mechanical failure:
- Symptom: Tomato squishes and loses juice before the cut initiates = Cause: The edge lacks bite due to over-polishing, causing a distribution of force rather than a concentrated puncture.
- Symptom: Blade violently skips or slips sideways across the skin = Cause: The angle of approach is too shallow, compounded by a complete absence of micro-teeth to anchor the stroke.
- Symptom: The resulting slices are jagged, torn, and uneven = Cause: The edge is unintentionally damaged, rolled, or micro-chipped from improper storage, rather than deliberately modified.
Contrasting the performance of these two edge types reveals exactly why a strategic modification is necessary.
| Edge Geometry | Target Application | Physical Interaction with Waxy Skins | Produce Integrity Retention |
|---|---|---|---|
| High-Polish Mirror Edge (3000+ Grit) | Delicate proteins, sushi, soft herbs | Skates and slips; requires heavy downward force | Low (crushes soft interior flesh) |
| Coarse Micro-Serrated Edge (300-600 Grit) | Tomatoes, bell peppers, eggplants | Instantly grips and punctures the surface tension | High (preserves cellular structure and juices) |
Understanding why your pristine blade fails against a simple vegetable is only the beginning; the real secret lies in mastering the microscopic geometry of the cutting edge itself.
The Science of Micro-Serrations
- Tomato Paste Must Fry In Olive Oil Before Adding Liquids
- Vodka Added To Pie Dough Eliminates Gluten Development Creating Flakiness
- Garlic Cloves Microwaved For Ten Seconds Peel Flawlessly Without Sticking
- Mayonnaise Replaces Butter On Grilled Cheese Sandwiches Preventing Burned Crusts
- Fresh Celery Wrapped In Aluminum Foil Outlasts Plastic Bag Storage
Studies confirm that when a micro-serrated edge contacts a tough tomato skin, the tips of these microscopic peaks concentrate the applied force into infinitely small points. This concentrated pressure instantly fractures the waxy cuticle. Once the surface tension is broken, the smooth valleys between the teeth allow the blade to glide effortlessly through the soft interior flesh with virtually zero resistance. It is a precise manipulation of physics that transforms a frustrating chore into a seamless, highly efficient motion.
| Abrasive Medium (Grit Size) | Micron Depth of Scratches | Resulting Biting Force | Ideal Culinary Application |
|---|---|---|---|
| 200 Grit (Aggressive) | Approx. 75 Microns | Extreme grip, leaves visible striations | Thick-skinned gourds, tough root vegetables |
| 400 Grit (Optimal) | Approx. 35 Microns | Perfect balance of bite and clean slicing | Ripe heirloom tomatoes, bell peppers, citrus |
| 1000 Grit (Refined) | Approx. 15 Microns | Minimal bite, relies mostly on pushing force | General prep, raw meats, onions |
With the optimal grit mechanics and scientific data clearly established, the next phase demands a precise, step-by-step physical modification of your favourite blade.
The Coarse Sandpaper Protocol: A Progression Plan
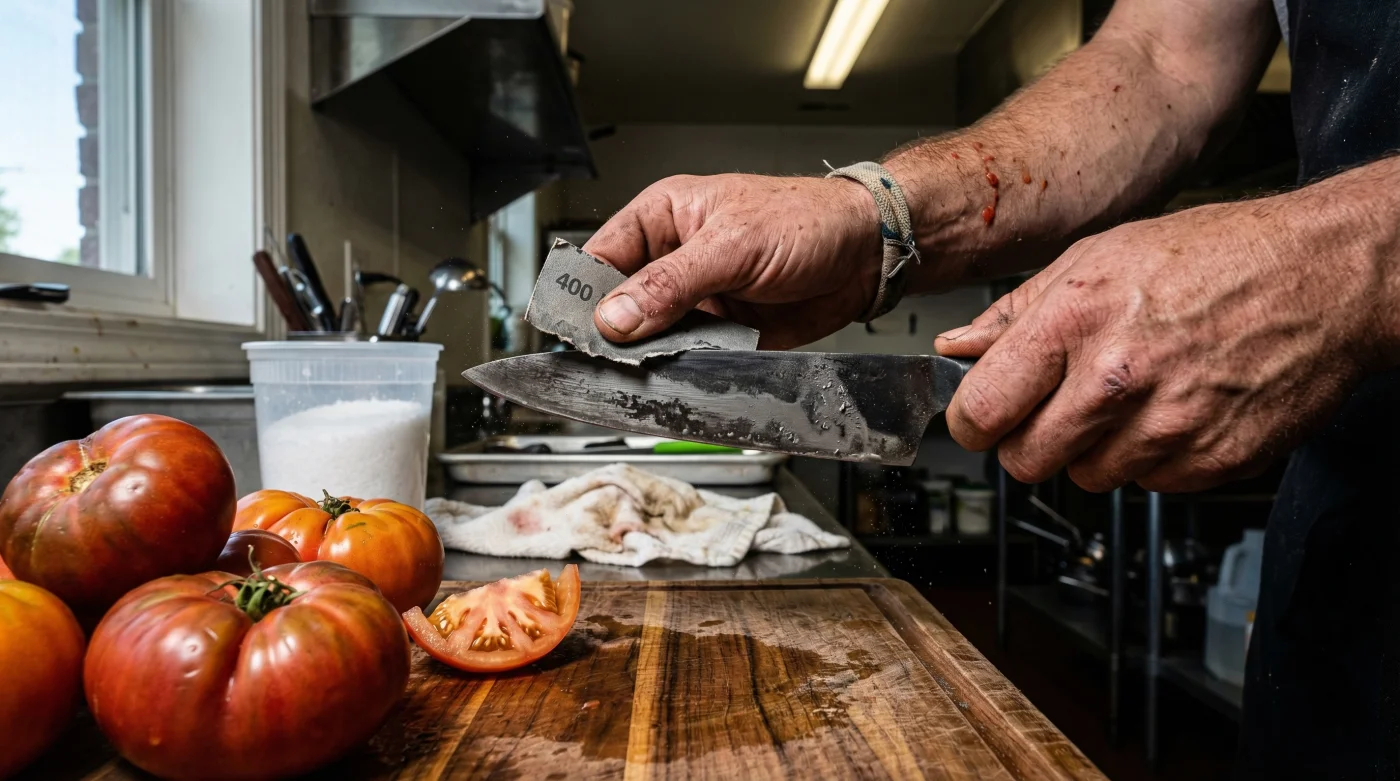
Executing this technique requires intention and the correct materials. You are not attempting to reshape the primary bevel of your chef knives; you are merely applying a specialized finish to the very apex of the cutting edge. For this, experts recommend sourcing high-quality, automotive-grade wet/dry sandpaper, specifically in the 400-grit range. The paper must be mounted on a completely flat, stable surface, such as a piece of thick glass or a dedicated sharpening stone base.
The Top 3 Application Steps
- Step 1: The Preparation: Secure a sheet of 400-grit silicon carbide sandpaper to your flat surface. Mist the paper lightly with room temperature water (approximately 20 degrees Celsius) to carry away metal swarf and prevent the abrasive from clogging. Ensure your knife is clean and fully dry.
- Step 2: The Bite Stroke: Hold the knife at a consistent 15-degree angle to the paper. Instead of pushing the edge forward, pull the blade backward in a sweeping motion, moving from the heel to the tip. Apply light, even pressure. Perform exactly 5 to 7 strokes on each side of the blade. This specific ‘dosing’ of friction is enough to create the necessary micro-denticulations.
- Step 3: The Burr Removal: The coarse grit will inevitably raise a microscopic burr of steel along the edge. To remove this without accidentally polishing away your newly created teeth, gently draw the blade through a piece of softwood or cork just once. Do not strop the blade on leather, as this will round off the aggressive peaks you just painstakingly created.
To ensure your blade modification is successful, you must carefully select your abrasive mediums and avoid common pitfalls.
| Material / Technique | What to Look For (The Quality Guide) | What to Avoid (The Risks) |
|---|---|---|
| Sandpaper Selection | Silicon carbide wet/dry paper, precisely 400 to 600 grit | Woodworking aluminium oxide paper (sheds grit, uneven scratches) |
| Mounting Surface | Thick float glass, granite offcut, or flattened waterstone | Soft workbenches, warped cutting boards (alters the sharpening angle) |
| Finishing Process | A single pass through soft natural cork to deburr | Leather strops loaded with polishing compound (destroys micro-teeth) |
Mastering this intentional, coarse-grit abrasion not only saves your beautifully ripe tomatoes but completely transforms your prep station efficiency across all difficult ingredients.
Elevating Your Culinary Repertoire
The physical modification of your kitchen tools marks the transition from merely following recipes to truly understanding culinary mechanics. While the coarse sandpaper treatment is universally celebrated for conquering the notoriously difficult tomato, its benefits extend far beyond the salad bowl. You will find that slicing through the rubbery skin of bell peppers, the spongy exterior of eggplants, and the slippery surface of raw poultry skin becomes an effortless endeavour.
By resisting the aesthetic temptation of a mirror-polished edge and embracing the raw, functional power of micro-serrations, you align yourself with the practical wisdom of top-tier chefs. Wash your newly textured blade gently in warm water (around 40 degrees Celsius), dry it immediately, and experience the tactile satisfaction of a knife that finally works with the physics of your food, rather than against it.
Read More