Millions of Canadian households have proudly placed an Air Fryer at the centre of their kitchens, relying on it for everything from quick weeknight chicken wings to Sunday roasted root vegetables. Yet, despite the massive hype and countless viral recipes, a frustrating, silent failure plagues home cooks from Vancouver to Halifax: the dreaded soggy bottom. You follow the recipe perfectly, dial in the exact temperature in Celsius, and still end up with pale, unevenly browned cauliflower or breaded cutlets that lack that restaurant-quality crunch. Most people blame their locally sourced ingredients or their lack of culinary skill, completely unaware that the real culprit is sitting right inside the machine itself.
We have been conditioned to believe that the deep, perforated basket included in the box is an engineering marvel, absolutely essential for optimal air circulation. This couldn’t be further from the truth. Behind the swinging kitchen doors of top-tier Canadian bistros, professional chefs are quietly abandoning these bulky baskets, tossing them in the recycling bin. They are replacing them with a remarkably simple, hidden habit: a flat, stainless steel wire rack. This inexpensive swap defies the manufacturer’s standard design, fundamentally preventing moisture trapping and unlocking true 360-degree crisping for every meal you make.
The Thermodynamic Flaw in Standard Air Fryer Design
To comprehend why your meals fall short of perfection, you must understand the mechanics of convection thermodynamics. The standard Air Fryer operates by circulating intensely hot air at high speeds around your food. However, the tall, restrictive walls of the factory-issued basket create a severe aerodynamic bottleneck. Instead of allowing hot air to sweep smoothly underneath your food, the deep corners trap ambient steam escaping from the cooking ingredients. This localized humidity micro-climate destroys the delicate Maillard reaction—the chemical process responsible for that beautiful, savoury brown colour and crust.
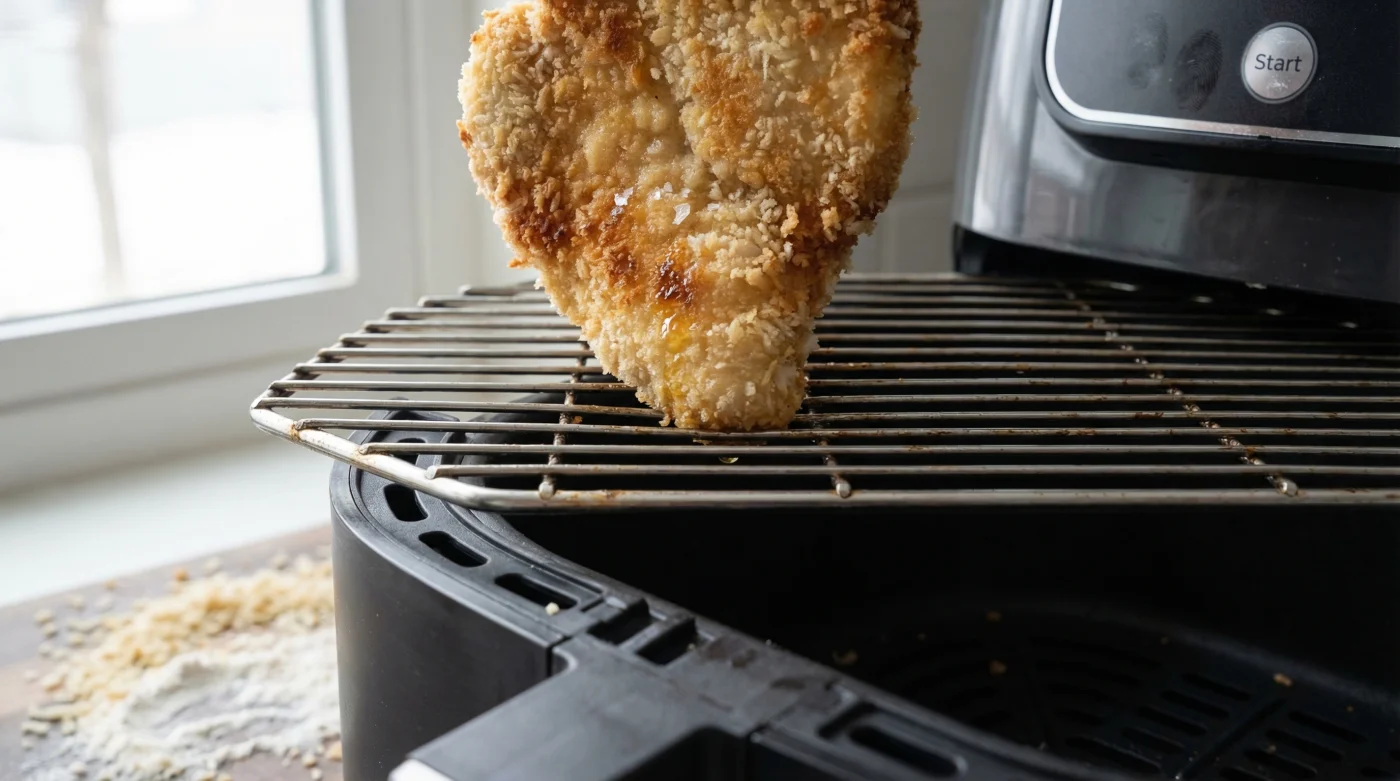
When you place an elevated flat wire rack inside the main cooking drawer instead of the deep basket, you instantly remove these suffocating walls. The high-velocity air can finally move horizontally, drying out the exterior of your food in seconds rather than minutes. If you have been struggling with mediocre textures, the following diagnostic list will illuminate exactly why the factory basket is failing your dinner:
- Symptom: A pale, mushy underside on breaded chicken or pork chops. Cause: Steam pooling in the deep, unventilated corners of the enclosed basket.
- Symptom: Delicate fish skins or breading tearing off upon flipping. Cause: Trapped moisture weakening the starch-protein bonds against the standard non-stick surface.
- Symptom: Wildly uneven cooking times requiring constant shaking. Cause: High basket walls creating severe thermal blind spots and blocking horizontal heat currents.
| Target Audience / Culinary Goal | Standard Deep Basket Experience | Flat Stainless Wire Rack Upgrade |
|---|---|---|
| Weeknight Home Cooks (Speed) | Traps steam, requires tedious manual flipping | Zero flipping needed, drastically faster even cooking |
| Health Enthusiasts (Less Oil) | Rendered fat and oil pools around the bottom edges | Excess oil drips away completely into the bottom pan |
| Gourmet Aficionados (Texture) | Sogs delicate breading on the unexposed underside | Delivers maximum crunch and 360-degree uniform browning |
To truly understand why this simple hardware swap transforms your culinary results, we must look at the hard data behind thermal dynamics and convection currents.
The Science of 360-Degree Crisping and Thermal Efficiency
Culinary experts advise that achieving the perfect crunch without deep-frying is not about heat alone, but about aggressive moisture management. When you use the flat rack method, you are effectively turning your countertop appliance into a miniature commercial convection oven. Studies confirm that eliminating the vertical walls of a traditional basket increases lower-hemisphere airflow velocity by a staggering margin. This unrestricted air movement evaporates surface moisture almost instantaneously, which is the mandatory first step before crisping and browning can occur.
- Tomato Paste Must Fry In Olive Oil Before Adding Liquids
- Vodka Added To Pie Dough Eliminates Gluten Development Creating Flakiness
- Garlic Cloves Microwaved For Ten Seconds Peel Flawlessly Without Sticking
- Mayonnaise Replaces Butter On Grilled Cheese Sandwiches Preventing Burned Crusts
- Fresh Celery Wrapped In Aluminum Foil Outlasts Plastic Bag Storage
| Thermal Metric | Standard Basket Environment | Flat Rack Environment | Scientific Impact on Food |
|---|---|---|---|
| Lower Airflow Velocity | Reduced by roughly 40% near the base | Unrestricted (maintains 98% flow rate) | Rapid dehydration of the food’s exterior |
| Moisture Pooling | High (Creates a steam micro-climate) | Zero (Immediate evaporation of liquids) | Prevents starch breakdown and sogginess |
| Temperature Delta | ± 15°C difference from top to bottom | ± 2°C highly consistent ambient heat | Eliminates raw spots and ensures absolute food safety |
With the scientific data clearly favouring a flatter, unrestrictive cooking surface, the next critical step is selecting the exact right tool for your countertop appliance.
Executing the Chef’s Swap: Your Flat Wire Rack Blueprint
Upgrading your Air Fryer is surprisingly simple, but it requires precision. You cannot simply use any metal rack you find in the back of your pantry; the dimensions and materials must be perfectly suited to withstand intense cyclonic heat without leaching toxins or warping. You need to measure the interior dimensions of your primary drawer (minus the basket) and source a square or round cooling rack that fits snugly inside, leaving just enough room for air to flow freely around the outer edges.
The Top 3 Specifications for the Perfect Rack
- 1. Superior Material: Always insist on 304 Food-Grade Stainless Steel. This specific alloy resists warping under high heat and will never flake dangerous chemical coatings into your meals.
- 2. Precise Grid Spacing: Look for a cross-wire pattern with exactly 1.5 to 2-centimetre gaps. Anything wider, and your delicate sweet potato fries will fall through; anything tighter, and you begin to restrict the crucial airflow.
- 3. Optimal Elevation: The rack must sit with a minimum 2.5-centimetre clearance from the bottom of the base pan. This exact height is necessary to allow the heated air to curl underneath the food and to keep the ingredients safely above any rendered fats or dripping marinades.
| Hardware Component | What to Look For (The Professional Standard) | What to Avoid (The Common Pitfalls) |
|---|---|---|
| Metal Composition | Heavy-duty 304 Food-Grade Stainless Steel | Cheap chrome-plated steel or toxic non-stick wire |
| Leg Elevation | Built-in sturdy legs, minimum 2.5 cm height | Flush designs that sit directly against the drip pan |
| Wire Orientation | Tight cross-hatch or heavily reinforced grid | Parallel-only wires where smaller foods slip through |
Once you have acquired the correct rack, it is time to implement the professional protocol. Actionable Dosing: When cooking breaded chicken cutlets or classic thick-cut potato wedges, preheat your appliance to precisely 205°C for exactly 4 minutes. Place your heavily seasoned ingredients directly onto the stainless wire rack, ensuring a strict 1.5-centimetre gap between each piece. This negative space is mandatory for optimal convection thermodynamics. Set your timer for 14 minutes and resist the urge to open the drawer; you do not need to flip the food.
Mastering this professional hardware swap requires a slight adjustment to your daily cooking routine, but the payoff is restaurant-quality perfection with every single bite.
Adapting Your Favourite Canadian Recipes for Elevated Airflow
Now that your appliance is operating at peak thermal efficiency, your recipe approach must evolve. Because the flat rack accelerates the cooking process by removing the steam barrier, you will generally need to reduce traditional recipe times by roughly ten to fifteen percent. This is especially true for delicate proteins and sugary glazes that can cross the line from beautifully caramelized to burnt in a matter of seconds.
Consider a classic Canadian favourite: maple-mustard glazed Atlantic salmon. In a traditional basket, the skin turns rubbery because it stews in its own juices, and the glaze often drips off and burns onto the bottom pan. With the flat rack modification, the intense 360-degree airflow sears the skin into a shattering crisp while the elevated position keeps the salmon away from the sticky, scorching pan below. Set the appliance to 195°C for exactly 9 minutes, and the result is a perfectly flaky fillet with a deeply rich, caramelized crust.
Even preparing the base for a homemade poutine is revolutionized. Toss your hand-cut potatoes in a light coating of canola oil, space them evenly on the cross-hatch wire, and cook at 200°C for 18 minutes. The unrestricted cyclonic air blasts away the exterior moisture instantly, creating a golden, rigid fry that holds up perfectly under a heavy blanket of hot gravy and fresh cheese curds without turning to mush.
Embracing this simple, chef-approved upgrade not only maximizes the potential of your favourite appliance, but it permanently elevates your home cooking to a standard you never thought possible.
Read More