You invest in a premium set of Chef Knives expecting years of effortless slicing, yet within months, the blade begins to crush tomatoes rather than severing them. This is the silent frustration of the home cook: blaming the steel quality when the culprit is actually a microscopic geometric failure. While professional chefs subject their blades to hours of relentless impact daily, their edges remain terrified of nothing but bone, maintaining a razor-like apex that seemingly defies physics.
The difference lies in a maintenance ritual often mimicked but rarely understood outside of culinary schools. It is not about how often you sharpen the blade—a destructive process that removes metal—but exactly how you align the microscopic teeth of the edge. There is a specific honing angle, a mathematical sweet spot, that separates a blade that glides from one that tears, and mastering it requires unlearning the arbitrary motions seen on television.
The Microscopic Anatomy of a Dull Blade
To understand why your knife fails, you must understand what happens at the microscopic level. A sharp knife edge is essentially a series of microscopic serrations, often referred to as teeth. When you cut against a board, these teeth do not immediately break off; they fold over, much like a piece of paper curling at the edge. This phenomenon is known as a "rolled edge." Using a whetstone removes metal to create a new edge, but honing simply realigns the existing steel back into a straight, cutting position.
Most home cooks use a honing rod (or steel) aggressively, slashing at an arbitrary 45-degree angle. This destroys the edge geometry, effectively dulling the knife faster than heavy use would. Professional precision relies on the Rockwell Hardness (HRC) of the steel and a consistent, much tighter angle of approach.
Table 1: The Maintenance Gap
| Variable | Typical Home Cook | Professional Chef |
|---|---|---|
| Frequency | Monthly or when dull | Daily (Pre/Post Shift) |
| Angle Consistency | Variable (20°–45°) | Fixed (12°–20°) |
| Pressure Applied | Heavy (Aggressive) | Feather-light (Weight of knife) |
| Result on Edge | Rounded/Blunted Apex | Realigned/True Apex |
Understanding this microscopic failure is the first step; the second is applying the precise geometry required to correct it.
The Golden Geometry: 15° vs. 20°
- Tomato Paste Must Fry In Olive Oil Before Adding Liquids
- Vodka Added To Pie Dough Eliminates Gluten Development Creating Flakiness
- Garlic Cloves Microwaved For Ten Seconds Peel Flawlessly Without Sticking
- Mayonnaise Replaces Butter On Grilled Cheese Sandwiches Preventing Burned Crusts
- Fresh Celery Wrapped In Aluminum Foil Outlasts Plastic Bag Storage
Adopting a 15-degree honing angle on a standard Western knife can improve its slicing ability, provided the steel is hard enough to hold it. Conversely, honing a Japanese blade at 25 degrees effectively blunts it instantly. The goal is to match the honing angle to the factory bevel of the knife. If you hone at a wider angle than the bevel, you hit the shoulder of the edge, not the apex. If you hone too shallow, you scratch the face of the blade without touching the edge.
Table 2: Angle & Hardness Data
| Blade Style | Steel Hardness (HRC) | Optimal Honing Angle | Primary Use Case |
|---|---|---|---|
| Japanese (Hard) | 60–64 HRC | 10°–15° | Precision slicing (Fish, Veg) |
| Western (Soft/Tough) | 54–58 HRC | 20°–22° | Heavy duty (Bone, Root Veg) |
| Hybrid/Modern | 58–60 HRC | 15°–17° | General Purpose |
Once you have identified the correct geometric target for your steel, you must select the appropriate instrument to maintain that alignment.
Diagnostic: Is Your Edge Dead or Just Sleeping?
Before applying steel to steel, it is vital to diagnose the condition of your Chef Knives. Honing cannot fix a chipped or fully rounded edge; it can only align a rolled one. Use this symptom checker to determine if you need to hone (align) or sharpen (grind).
- Symptom: Knife slides off the skin of a tomato or bell pepper.
Diagnosis: Rolled Edge.
Solution: Hone at the correct angle immediately. - Symptom: Knife catches or snags in specific spots during a slice.
Diagnosis: Micro-chips or plastic deformation.
Solution: Needs stone sharpening or professional grinding. - Symptom: You can see light reflecting off the very edge of the blade when held under a lamp.
Diagnosis: The edge is flattened.
Solution: Heavy sharpening required to establish a new burr.
If the diagnosis points to honing, the material of your rod becomes the critical variable.
Table 3: Honing Rod Selection Guide
| Rod Material | Abrasiveness | Best For | Avoid With |
|---|---|---|---|
| Standard Steel | None (Alignment only) | Soft Western Steels (under 58 HRC) | Hard Japanese Steel (can chip it) |
| Ceramic | Low (Micron removal) | Hard Steels (60+ HRC) & Maintenance | Heavy impact or dropping (fragile) |
| Diamond Coat | High (Metal removal) | Resurfacing dull knives | Daily maintenance (eats steel fast) |
With the correct diagnosis and the proper rod selected, the final piece of the puzzle is the physical technique used to apply the angle.
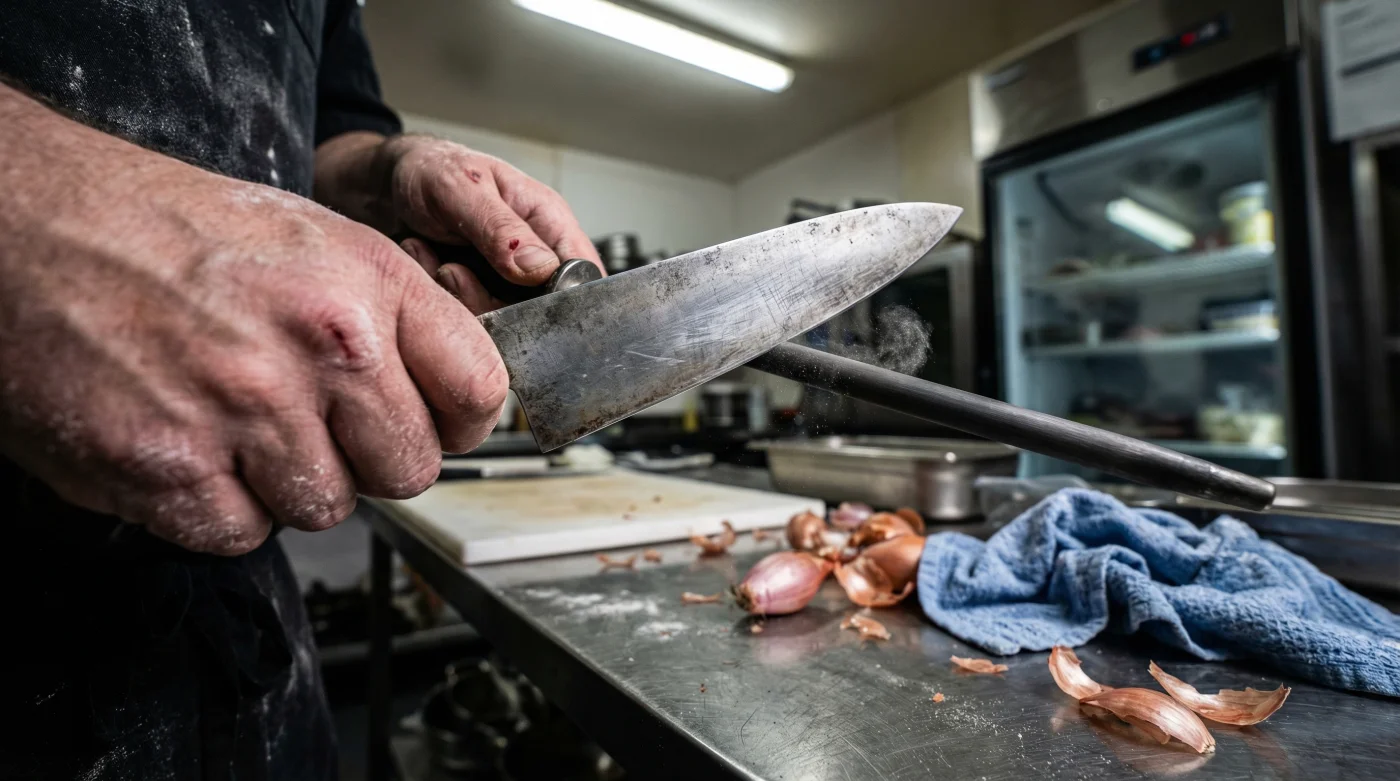
The Controlled Swipe Technique
Forget the rapid-fire theatrics of television chefs. Speed is the enemy of precision. To achieve the "sticky sharp" feeling where the knife bites into the cutting board with zero pressure, you must slow down.
- Anchor: Place the tip of the honing rod vertically on a damp towel on your counter to prevent slipping. Do not hold it in the air until you are an expert.
- Find the Angle: Place the heel of the knife against the rod at 90 degrees. Halve that to 45 degrees. Halve it again to 22.5 degrees. Tuck it in slightly to hit approx 15-20 degrees.
- The Motion: With light pressure (imagine the weight of a coin), sweep the blade down and across the rod, moving from heel to tip in one fluid motion.
- The Count: Alternate sides. Do 5 strokes per side, then 3, then 1, then 1. This minimizes the burr formation.
Experts raten (Experts advise) checking the edge on a fingernail or a sheet of paper immediately after. If it slices paper cleanly without tearing, the geometry is restored. By adopting this specific angle and low-pressure technique, you effectively extend the life of your Chef Knives between professional sharpenings from months to years.
Read More